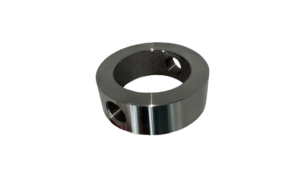
Flushing Ring: the key to cleaning and calibration without disassembly
Imagine you’re running an industrial plant and you’ve got a diaphragm seal protecting a pressure transmitter. Over time, the process fluid starts leaving deposits and
Imagine you’re in the workshop, trying to measure the exact length of a part, and you don’t want to look clueless in front of the operators. Don’t worry, after reading this blog, you’ll finally learn how to measure with a vernier caliper once and for all.
Spoiler: I’ll teach you not only about the digital ones, but also the traditional ones that have been around forever.
In case you want to go faster, here’s a video explaining the practical use of the Vernier caliper.
Let’s take a look at the types of vernier calipers:
I’ve divided the article into 6 simple sections so no one gets lost and can easily follow along.
1. Getting to know the tool: The different parts of a vernier caliper and what they are used for.

2. Adjust the jaws: It’s very simple. Open the jaws by sliding the vernier. For example, if you’re measuring something small, like the diameter of a coin, open the external jaws and adjust them until they fit snugly around the coin.
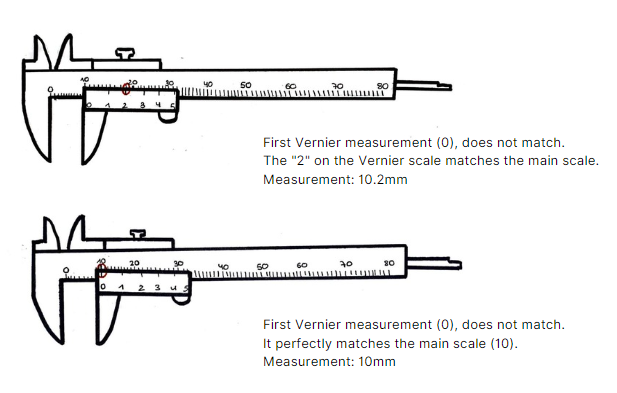
3. Read the measurement: This step seems easy and might be overlooked. But this is where the magic happens. Look at the main scale and note the closest measurement. Then, check the Vernier scale—the one that moves—and see which line aligns exactly with a marking on the main scale. If the first line doesn’t match, look for the next one to get the exact measurement.
4. Combine the readings: Next, you need to add the reading from the Vernier scale to the main scale measurement. For example, if the main scale reads 70 mm and the Vernier scale reads 0 mm (the first marking on the Vernier scale matches exactly with the main scale), the result is 70.0 mm. However, if the first marking doesn’t align and the fifth mark on the Vernier scale matches the main scale, the result would be 70.5 mm.
5. Internal and depth measurement: If you need to measure the internal diameter of an object, use the internal jaws at the top of the caliper. And if you need to measure depth, use the depth rod located at the bottom of the caliper.
6. Practice and be patient: Like anything in life, practice makes perfect. It may seem tricky at first, but soon you’ll be measuring everything with watchmaker precision.
Here’s a fact you probably didn’t know: with extra-large or Jumbo vernier calipers, you need to add the measurement indicated by the caliper.


So, the next time you need to measure something with precision, don’t think twice: grab your vernier caliper and get measuring!
And remember, for anything related to fittings, valves, or tubing, don’t hesitate to count on us!
Share this post

Imagine you’re running an industrial plant and you’ve got a diaphragm seal protecting a pressure transmitter. Over time, the process fluid starts leaving deposits and

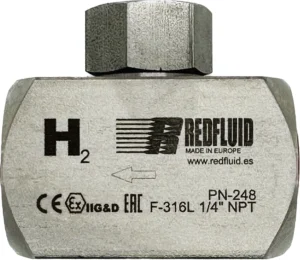
Imagine installing just any check valve in a hydrogen circuit. At first, everything seems to work fine — but over time, internal materials begin to